DIY Pine Cone Zinnia Flowers
Summer flowers are a beautiful part of your garden, but why let them wilt away in a vase? We'll show you how to make long-lasting faux flowers from nature's other offering: pine cones! These zinnia inspired pieces are great indoor or outdoor decor, plus they're easy and inexpensive to make.
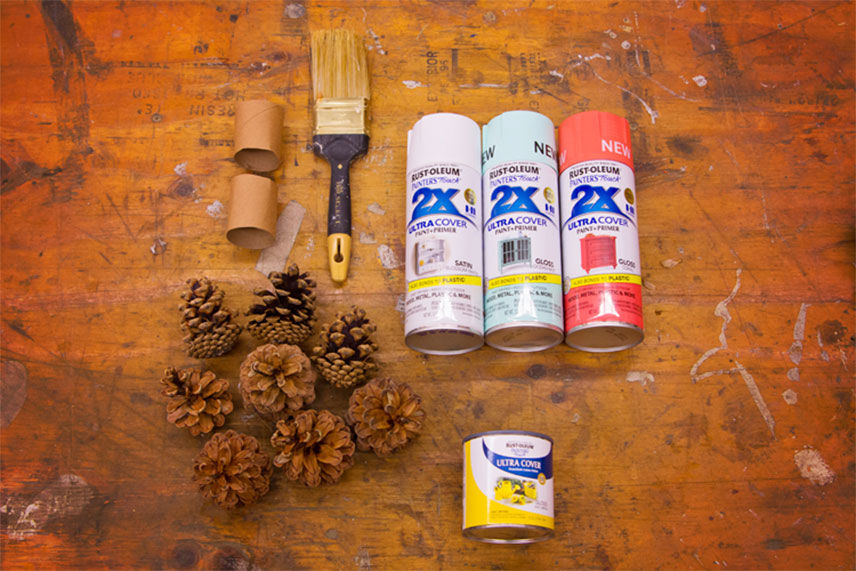
For this project, you'll need:
- Pine cones (any type, size, or shape - just make sure they're dry!)
- Rustoleum Painters Touch 2X Ultra Cover Spray Paint + Primer in Blossom White (satin finish)
- Rustoleum Painters Touch 2X Ultra Cover Spray Paint + Primer in Ocean Mist and Coral (gloss finish)
- Rustoleum Painters Touch Ultra Cover Premium Latex Paint in Sun Yellow (gloss finish)
- Paint brush (2" or smaller)
- Cardboard tubes
- Drop cloth
Step 1: Prepare your pine cones
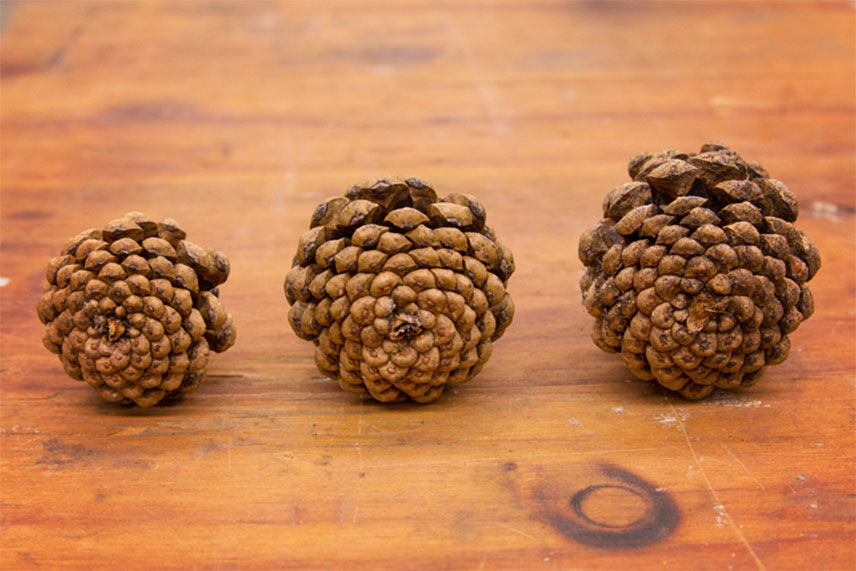
Any type of pine cone will work, as long as it has the floral shape on the bottom. We recommend using a range of sizes, and making sure that the entire pine cone is as clean as possible. Use your dry paint brush to remove any dirt and debris before getting started.
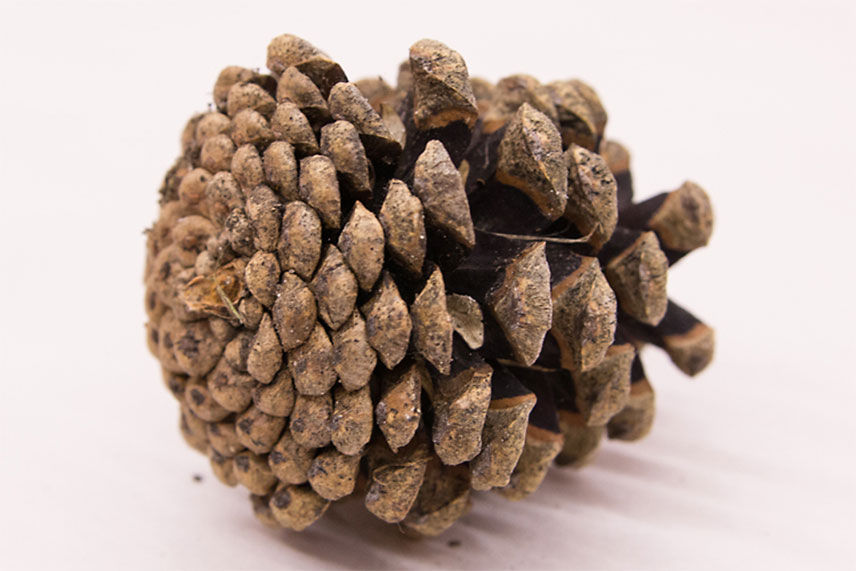
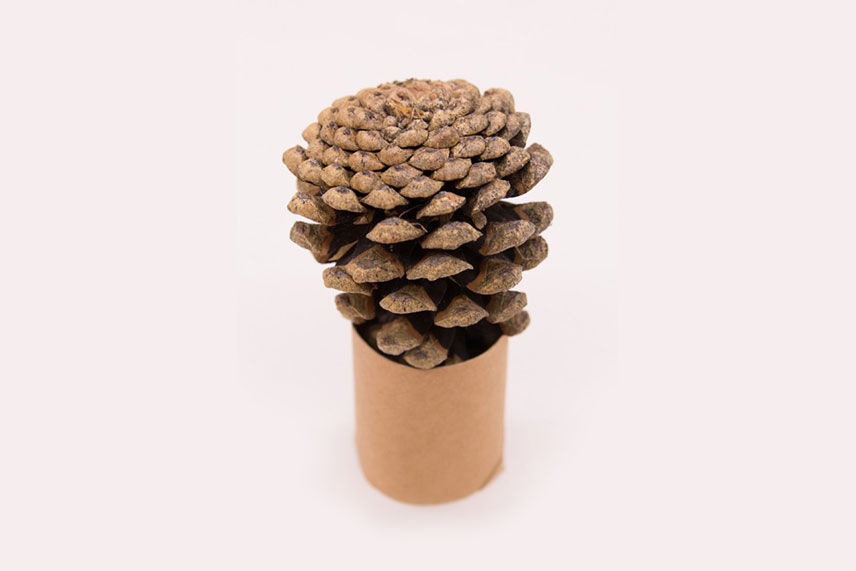
One thing to consider is the 3D shape of the pine cone. For best spray paint results, it is ideal to stand the pine cone upside down so you can spray 360° around it. We used a paper towel tube cut into pieces as a holder for the cone.
Step 2: Spray a white base layer
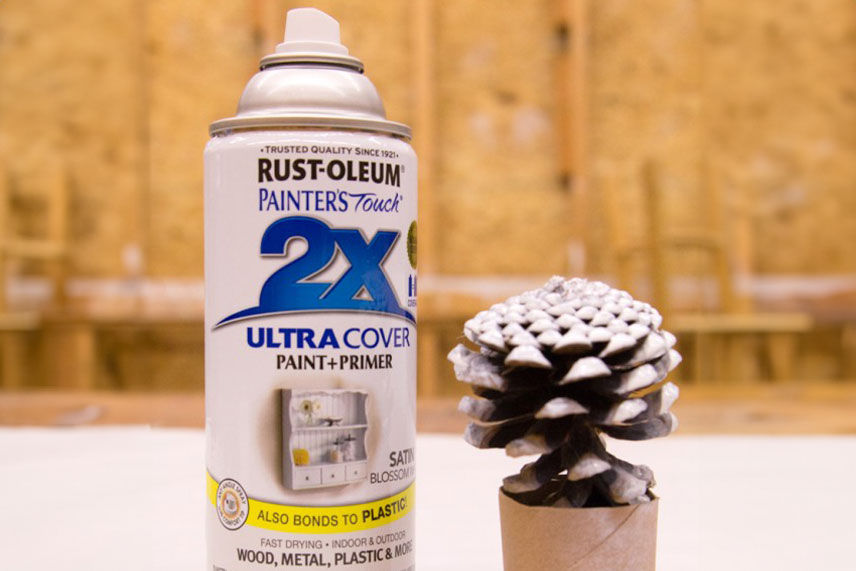
Before you spray the white base layer of paint on the pine cone, you'll want to consider the final product. We chose to spray only the base of the pine cone and a few of the first layers so that some of the natural brown color will still be visible at the end. This gives the 'flower' a nice vintage look and preserves some of its natural beauty. You may prefer to cover the entire cone in color for a more dramatic look. Either way is just fine.
If you're in a hurry, lacking cardboard tubes, or simply trying to get a lot of 'flowers' made, you can also lay them out assembly line style and paint one side at a time. While this technique won't give you as precise results, it will help speed up the process.
Step 3: Let the first coat of paint dry completely.
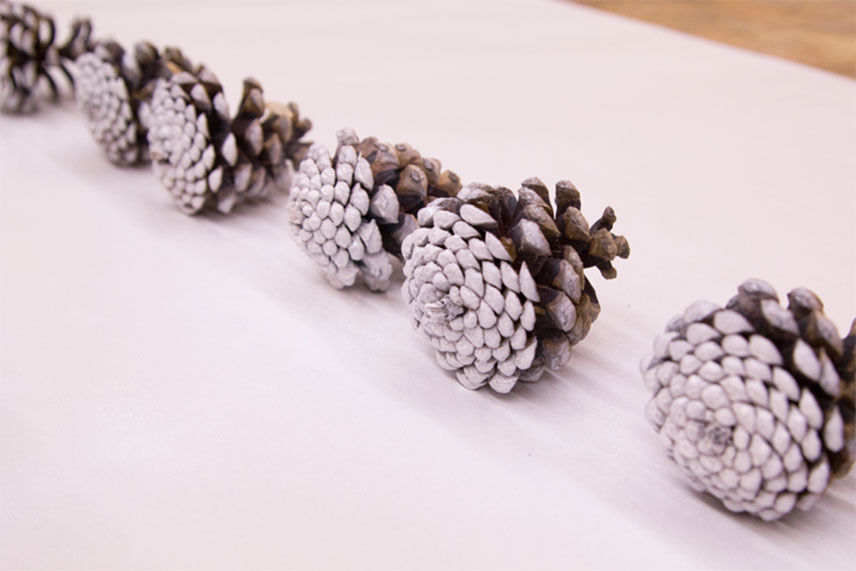
Step 4: Apply color
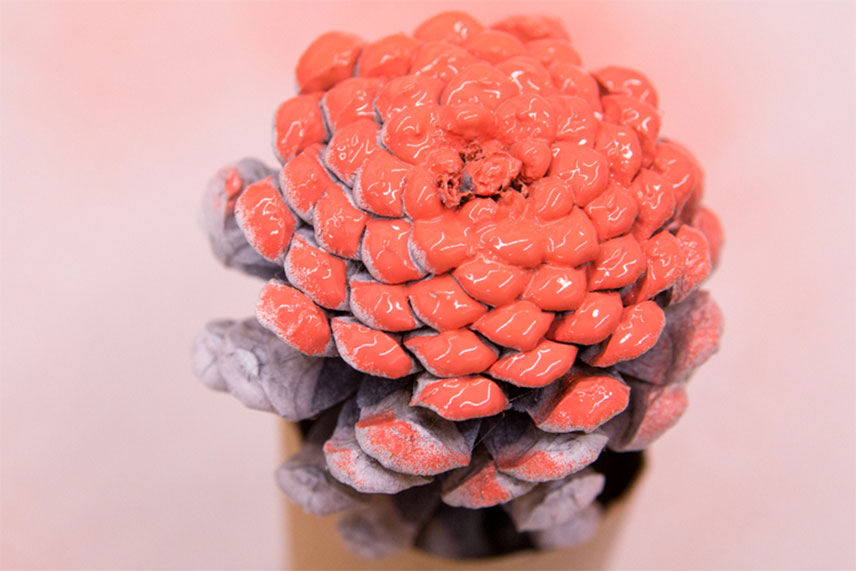
Remember: don't hold the can too close, and use short strokes! You will need to rotate the cone to get paint in all of those nooks and crannies. Be sure to keep the spray can upright at all times to avoid splatters.
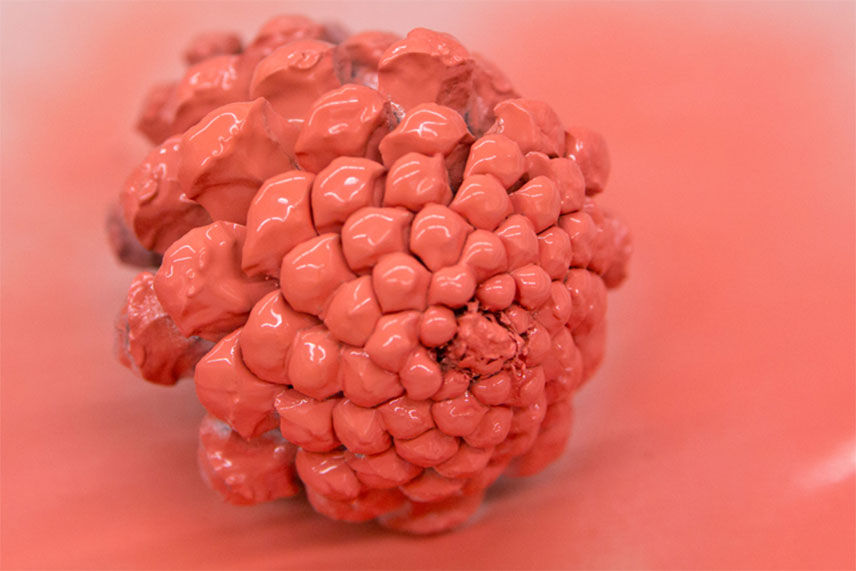
Again, the assembly line technique will work here, and might be easier if you plan to cover the entire cone. Just be extra careful to avoid spraying too much paint, which will ultimately cause the cone to stick to your surface. You will still need to paint one side at a time and rotate the cone after it dries to cover the other side.
Don't forget to let the paint dry completely before moving to the next step! Repeat as desired for multiple colors.
Step 5: Details
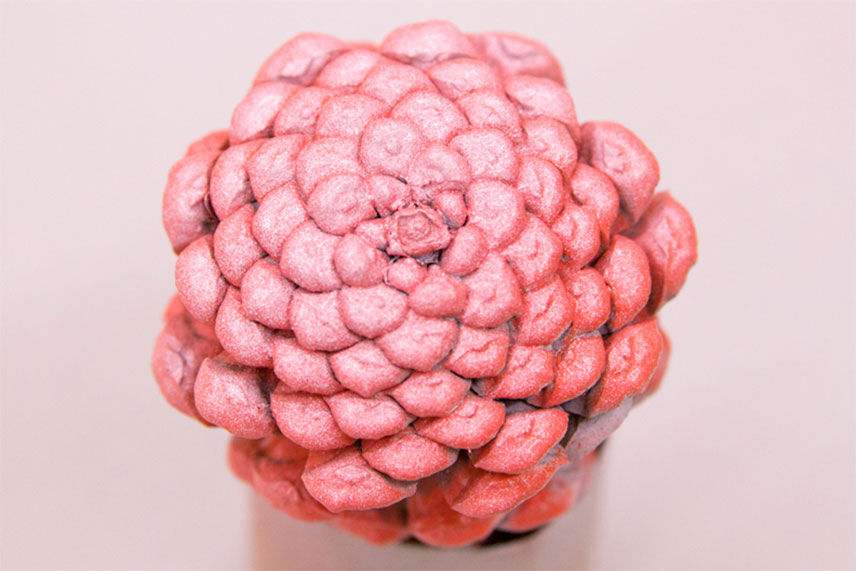
Of course, this step is completely optional, but we think it adds a lot to your finished piece! After our color was completely dry, we lightly misted our 'flowers' with white spray paint one more time. To achieve this look, hold the can farther away than usual, and spray the cone in very light and short strokes. It's better to start too light and build up your white layer than to spray full-force and end up with too much.
Don't forget to let the paint dry completely before moving to the next step! Repeat until the desired look is achieved.
Step 6: Add the yellow center
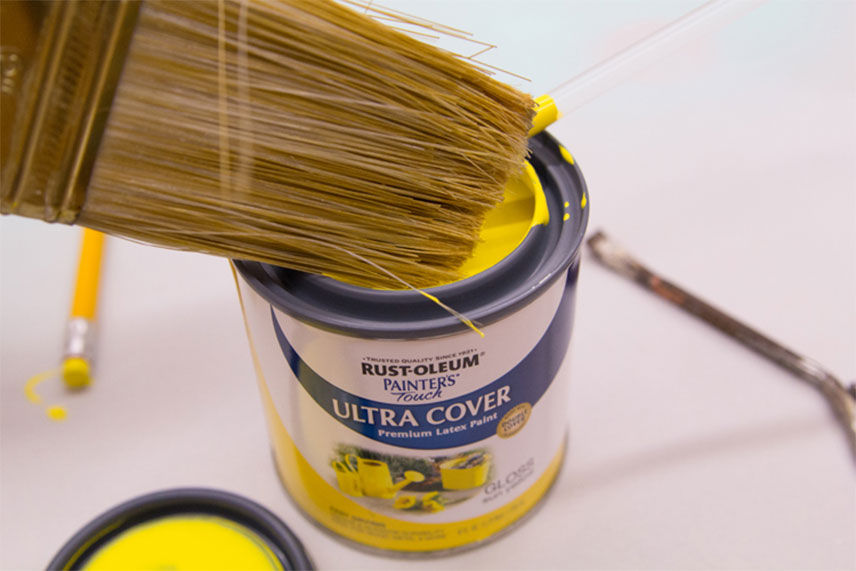
Feel free to experiment with different brushes, or other application tools, on your surface covering. We used a pencil eraser as an alternate application method for small cones. You could even use a sponge for all-over texture!
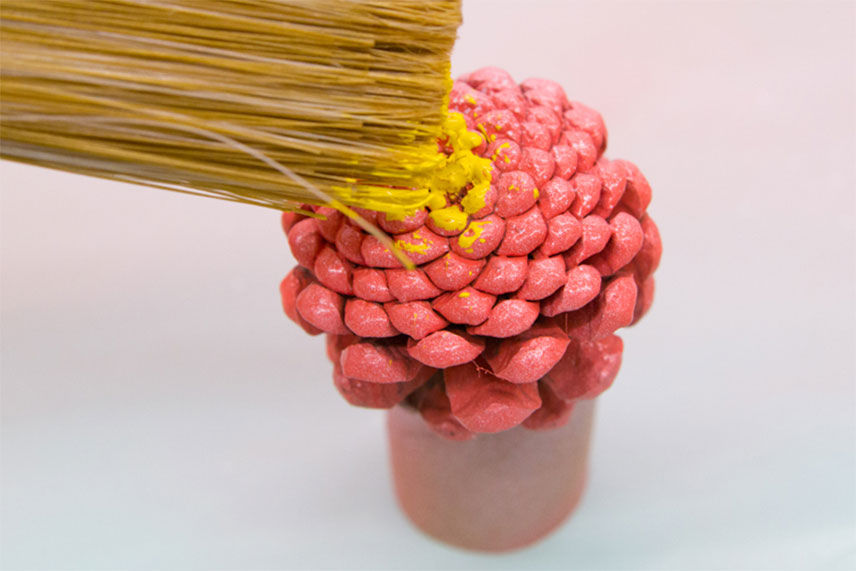
Apply the yellow paint while holding the cone or using one of your cardboard stands. Again, start light and build up to the amount of yellow you prefer.
Step 6: Let your 'flowers' dry overnight
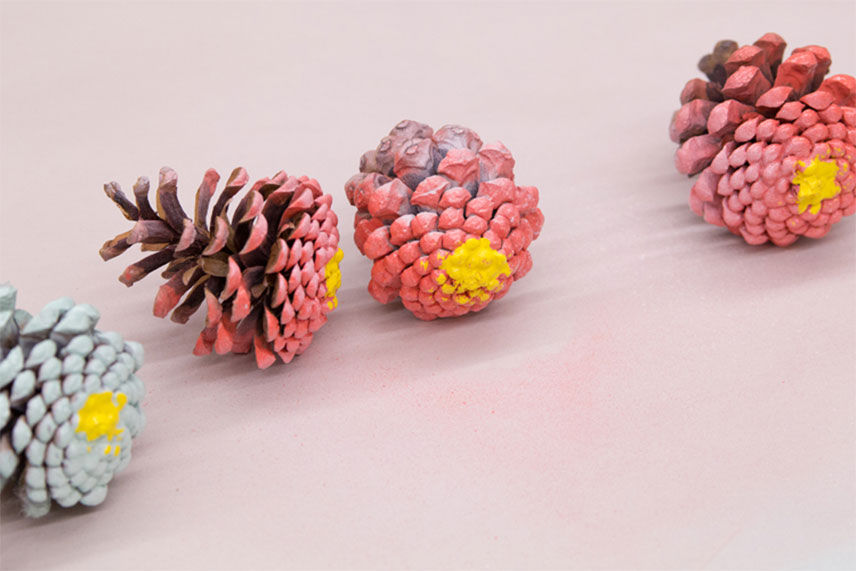
Your paint will be dry to the touch in about an hour, but it should be left to cure until it's completely hardened. Be sure to read the back of the can for ideal drying times and conditions. It may not need a full 8 hours, but we think leaving them overnight helps quell the temptation to touch them before they're completely dry.
Step 7: Show off!
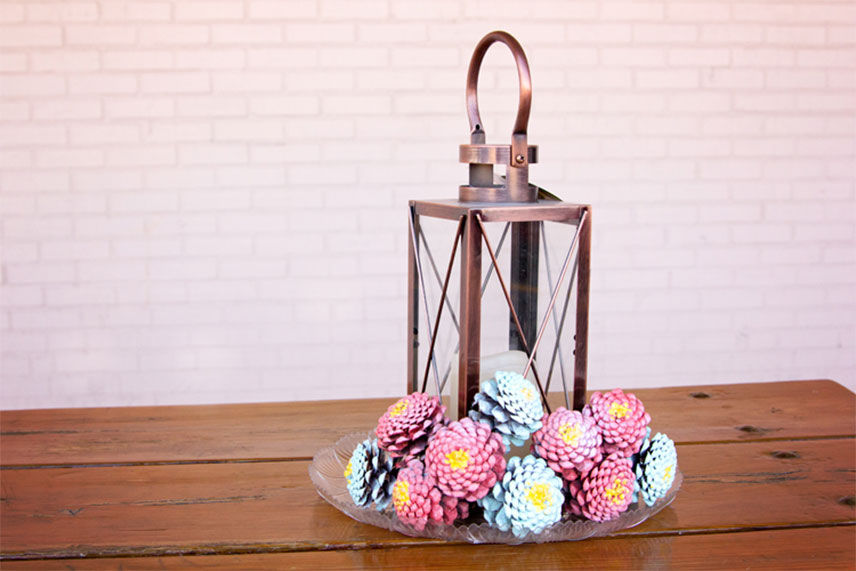
These faux flowers can be used in many different ways. We chose to use ours as filler for an outdoor lighting* display. Get creative! Tie some string around them for a garland, fill a vase with them for a bold accent piece, or attach them to a round form for a festive wreath.
*This decorative lantern is available seasonally at select Valu locations. Please call ahead to your local store before visiting.
Decided to get creative and take on this DIY project? We would love to see your photos! Share them with us on Twitter, or Instagram using #DoItYourSELFIE and we’ll share them with our fans!
Need some help, or more supplies? Visit your local Valu and speak to our knowledgeable Associates today.