Secrets to Perfect Lawn Mowing
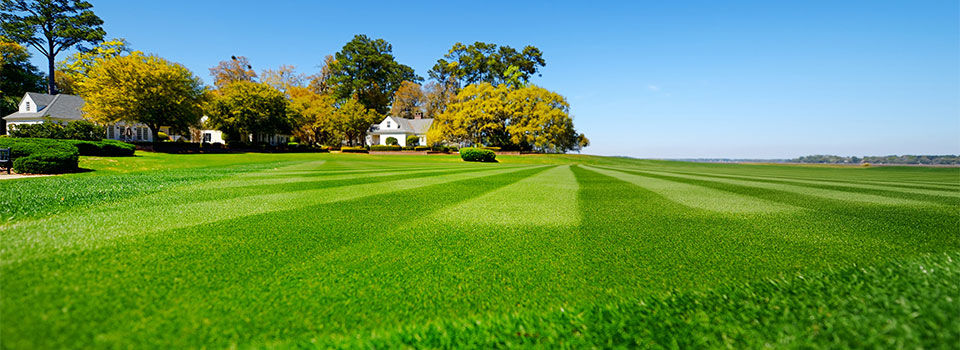
Mowing is the key to a beautiful and healthy lawn, and not just in the ways you expect. This simple chore does more than keep the grass at a neat and trim uniform height. It also helps encourage new growth and returns nutrients to the soil if you mulch the clippings rather than bagging them. How you mow largely determines if the practice helps or hurts your lawn. Just the practice of cutting the lawn on the right type of day and keeping your equipment in good shape will go a long way in building a greener, denser lawn.
Trim and Edge First
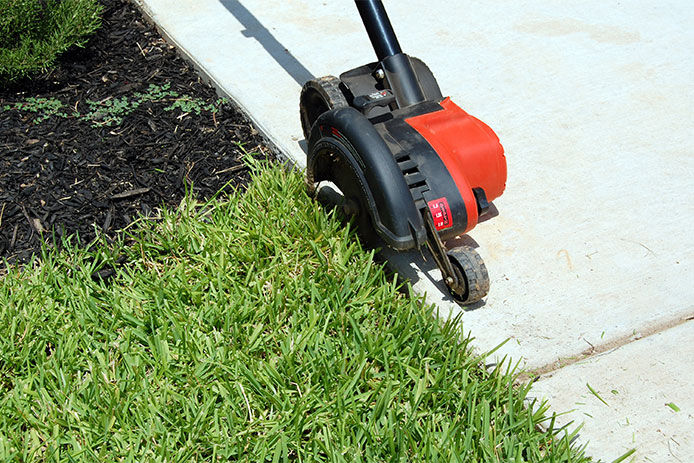
Start each lawn mowing session with the trimming and edging first. This keeps you from trying to push too close to the edge when mowing, which scatters clippings and risks damage to plants and trees. Refresh the edging between the lawn and surrounding flowerbeds as needed before each mow, especially if you roll your mower along a brick path for final edging when you’re done.
Aim for One-third
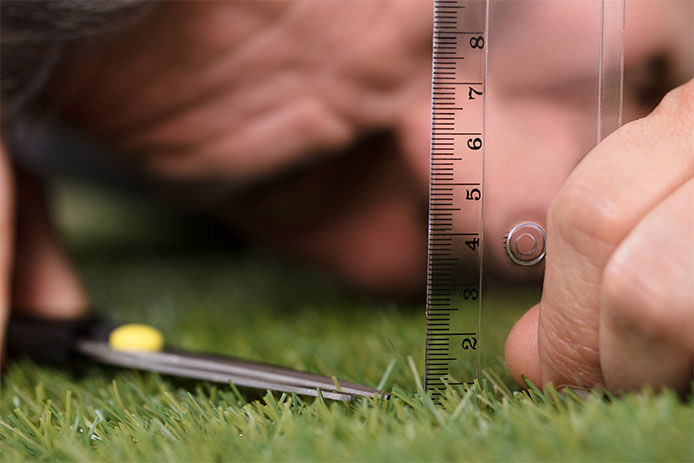
Avoid cutting more than one-third of the total blade height each time you mow. If it has been weeks or even months since you last mowed and the grass is six inches or taller, still limit cutting to 50% of the height at most. This ensures the grass doesn’t get shocked by losing too much volume and still has plenty of surface area for photosynthesizing. Using this rule of thumb rather than a fixed number of inches in height will help you establish a healthy yet neat lawn that is never at risk for scalping.
Wait for a Dry Day

Never mow your lawn when it has been raining recently. Give the lawn at least one full day to dry after each storm before attempting to mow, or even longer if you have slow-draining soil. Mowing when the grass is even damp with dew causes several problems. First, wet grass tears rather than cutting cleanly and then clumps on the blade, further damaging the rest of the lawn. Second, even the lightest push mower will displace soil and cause ruts and root damage when rolled over wet soil. Third, heavier riding lawnmowers can bog down in wet soil and leave outright holes in the turf. The early evening before the dewfall is generally the best time to mow for maximum drying.
Clean and Sharpen the Blades
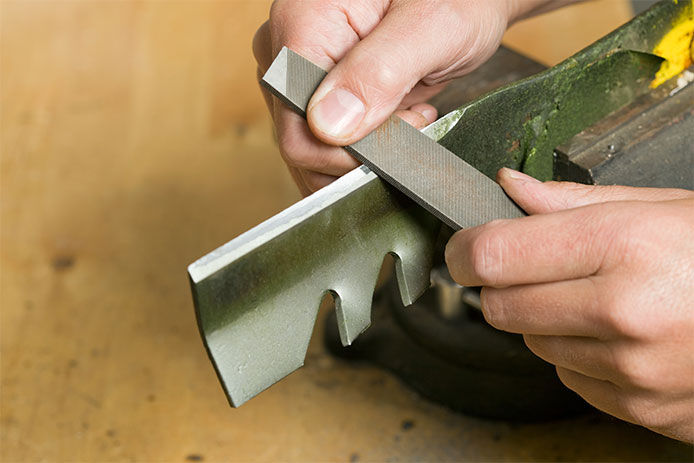
Clean, sharp lawnmower blades are more important than you think. Dull blades rip the grass blade, leaving it tattered-looking at the tip and reducing how quickly it grows back. Stressed grass is more likely to develop diseases or attract pests as well. The shorter you prefer to cut, the more important it is to use a clean and sharpened lawnmower blade. When cutting a large lawn or tougher grasses with higher fiber content, you may want to stop and clear the blade off multiple times.
Cut Higher in Summer and Lower for Fall
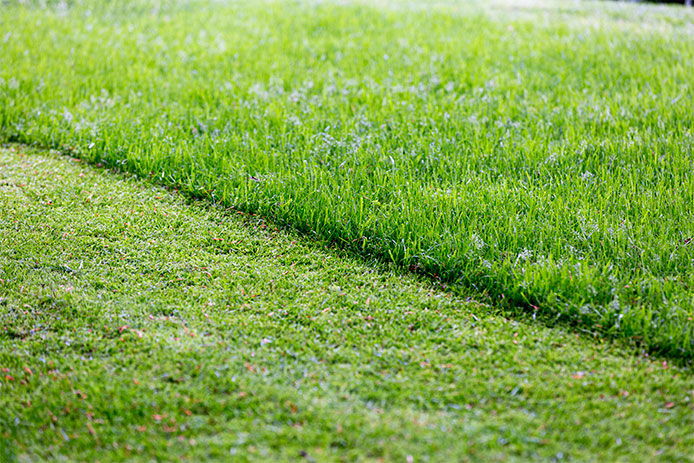
For an advanced level of mowing that takes advantage of differences in growth rates, you’ll need to consider both the season and the light level of each part of the lawn. Sunny areas should receive the shortest cut, while shady areas grow best with a little more height for extra photosynthesis. Change the height of the mower deck not only as you cross between sunny and shady areas but also from summer to fall. Leave grass longer over the summer so it can send as much energy as possible to the roots, then cut it closer in the fall to prevent smothering under leaves and snow.
Mowing After Seeding or Laying Sod
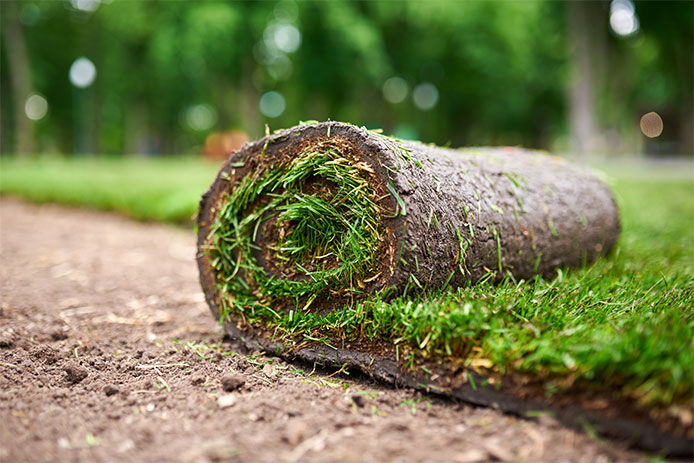
Both newly sprouted seed and freshly laid sod need some time to get established before the first cutting. But mowing at the right stage and not waiting too long can help it grow faster. Wait two to three weeks after overseedingan existing lawn. A new lawn from scratch doesn’t need trimming until it’s at least three inches in height. After laying sod, wait 14 days and then mow just the tips off to stimulate new growth.
Let Clippings Stay
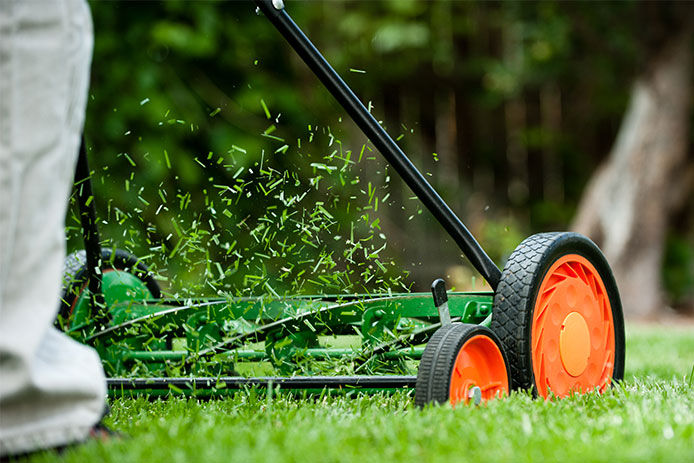
Bagging your clippings may seem neater, but your lawn needs those bits of grass to keep it healthy. Contrary to popular belief, mulching with clippings doesn’t lead to thatch problems, which are due to the natural death of old blades of grass. The fresh green clippings decompose into a source of nutrients to feed the lawn slowly and help hold moisture without risking mold or disease. Rake and fluff out any clumps both for aesthetics and to prevent damage to the underlying grass.
Dealing with Slopes
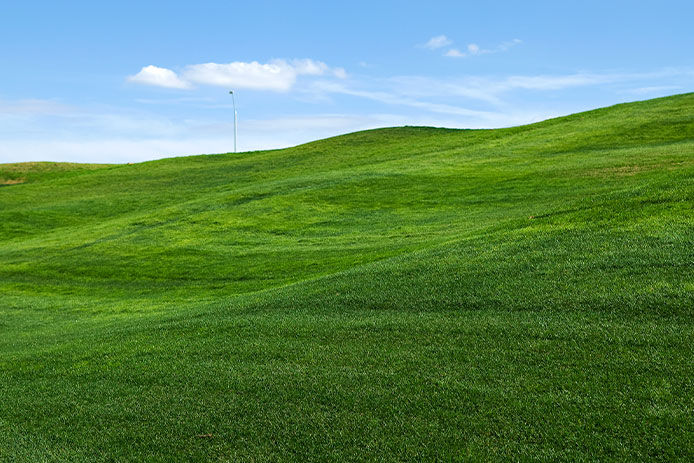
Always work across a slope or hill rather than up and down. This keeps the mower from sliding down the slope and reduces erosion on the surface. Avoid turning on the slope itself, making big loops on flat ground to get a better angle of approach.
Mix up Your Directions
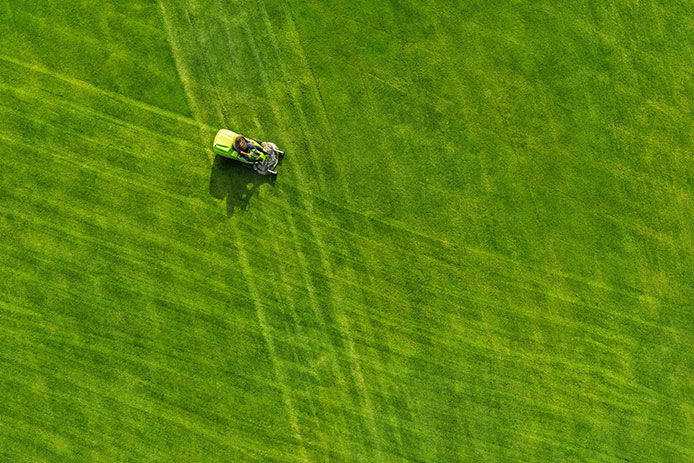
Consider which direction you use when mowing, then make sure to work in a different direction next time. Even if you follow a mowing pattern for a certain effect on the grass, you’ll need to change it up regularly. Grass that is only cut in one direction tends to start growing in that direction, reducing the attractive plush look. It also increases the chances of ruts developing in the soil. Mow vertically across the yard one week, then in horizontal passes the next time. Striping is as easy as alternating which direction you mow in, creating the lines or checkboard you so admire at your local golf course.
In general, you can probably go longer between mowing and enjoying a healthier lawn without much of a messy, overgrown look. Many people overcut their lawns because they follow a schedule rather than waiting for a shaggy appearance. Unless you live in an HOA with very strict lawn height laws, try experimenting with letting it grow a bit, at least every once in a while, between mowing.
While do-it-yourself projects can be fun and fulfilling, there is always a potential for personal injury or property damage. We strongly suggest that any project beyond your abilities be left to licensed professionals such as electricians, plumbers, and carpenters. Any action you take upon the information on this website is strictly at your own risk, and we assume no responsibility or liability for the contents of this article.