While do-it-yourself projects can be fun and fulfilling, there is always a potential for personal injury or property damage. We strongly suggest that any project beyond your abilities be left to licensed professionals such as electricians, plumbers, and carpenters. Any action you take upon the information on this website is strictly at your own risk, and we assume no responsibility or liability for the contents of this article.
How to Repaint Plastic Furniture

Plastic furniture is easy to have around the house for both indoor and outdoor use. Though sometimes they can get a little run down and need to be freshened up. Whether you want to rejuvenate well-loved plastic furniture or just change up the color scheme, repainting plastic furniture is easy to do! Most plastic furniture can be safely and easily painted by yourself with few tools and little skill. Outdoor furniture, such as lawn chairs and tables, is especially easy to prepare and paint. Indoor plastic furniture is also easy to repaint, but you will need a different quality of paint so the fumes don’t become toxic to an indoor living setting. Follow these simple steps, and you’ll be using your refreshed plastic furniture in no time.
Preparing the Surface for Paint

Your first step is to clean the furniture. Scuff marks and dirt can be disastrous for a new coat of paint, making it appear uneven and spotty. Fill a bucket with hot water and mix in a strong cleaning agent such as vinegar or bleach. Especially for older furniture that has mildew or mold stains, you’ll want a strong chemical cleaner to scrub those off as best as you can. Use a tough sponge to wash the entire surface of the area you’ll be painting. Using a pressure hose, if possible, rinse the whole piece of furniture to make sure every surface has been properly cleaned and rinsed.
If you’re working with a newer piece of furniture, you probably won’t need such harsh cleaning agents. Instead, you can wipe down the whole piece with an all-purpose cleaner such as dish soap or other household detergents. Either way, you want to allow the piece of furniture to completely dry before proceeding.
Protect Any Surfaces

Now it’s time to prepare the space for painting. You will want to choose a space that can get a little messy while you’re doing your DIY projects. A well-ventilated area where you can safely paint your furniture is key. Some great options are a garage with the door open, a driveway, or a backyard. Ideally, the surfaces should be flat. Cover the ground with a material like an old sheet, newspapers, drop cloths, or a tarp. Use painter’s tape to cover any areas on the furniture you don’t want to paint. For example, if you’re only painting the top of the table, then tape the sides.
Sand the Surfaces

It’s always good to lightly sand a surface before painting to ensure that primer and paint adhere to the surface better. If the piece of furniture has been sanded before or has any scuff marks, you will want to give it a light sanding. Use sandpaper to gently brush the entire surface where you will be painting. Afterward, wipe down the whole piece of furniture with a clean cloth to remove any residue from the sanding.
Priming Outdoor Furniture

Once the surface of the furniture is clean, dry, and smooth, then it’s ready for priming! You can easily get some plastic paint from your local hardware store that is a combination of both primer and paint to make your job easier. Otherwise, you can buy primer and paint separately to ensure you get the color you want. It’s best to choose a primer designed for outdoor plastic materials. Typically, these paints come in a spray can and are super easy to apply. Simply shake, then spray! Spray in an even back-and-forth motion over the whole surface. It’s best to hold the nozzle about 12"-20" away from the surface for the best results.
Painting Outdoor Furniture

Painting your outdoor furniture is as simple as applying a coat of spray paint. Unless you’re using a primer and paint all in one spray, then you’ll want to wait until your primer is dry before applying your paint to the furniture. We recommend a satin finish for plastic furniture. Apply it the same way you applied the primer, evenly spraying back and forth over the surface and keeping the nozzle at least 12" above the surface.
Once the first coat of paint is fully dry, see if you need another coat of paint. It’s important that you allow the first coat of paint to dry completely before applying another layer of paint. If you are using a paint and primer combo spray paint, you will likely want to apply at least one more coat for best results. Let the piece dry for at least 24 hours before removing any painter's tape or using it. No one likes a bum covered in wet paint!
Indoor Furniture

For repainting plastic furniture for indoor use or storage, the process is essentially the same, but you will want to eliminate any chemical use that could become toxic. For example, when cleaning the furniture, use a cleaner such as vinegar rather than bleach or ammonia. Once the piece is dry, use sandpaper to give it a light sanding so the primer adheres to the surface well.
Choose a latex-specific primer designed for use with latex paint. Since plastic doesn’t hold paint well, apply an adhesion primer to make sure the color and paint last. Once the primer has dried, use 100% acrylic latex indoor paint. This is important because you want to avoid using a paint that will release odor or gas that can be harmful or toxic to humans and pets. This paint is also easier to clean and more resistant to stains. Choose a semi-gloss or satin finish for a pleasing aesthetic look. If you can’t find the color you want in a spray option, then it’s fine to use a liquid option, too. Use a synthetic brush to apply for a softer finish. Similarly, allow this top coat of paint to dry for at least 24 hours before use.
And you’re finished! This easy DIY project is a great way to refresh even the saddest looking lawn furniture to give it a new lease on life.
Related Articles
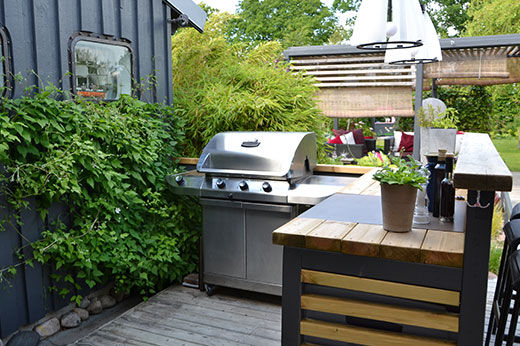
Elements of a Great Outdoor Kitchen
Seven items to add flair and excitement to your next backyard barbecue
Learn more

5 Reasons to Add a Backyard Griddle to Your Outdoor Kitchen
Find out why these flat-top wonders are the hottest trend in outdoor cooking!
Learn more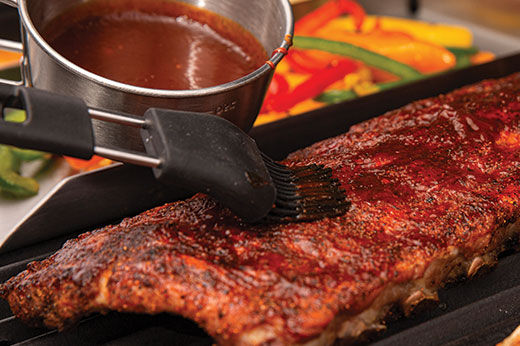
Grilling Accessories & How to Use Them
Check out these helpful tools to expand your grilling capabilities
Learn more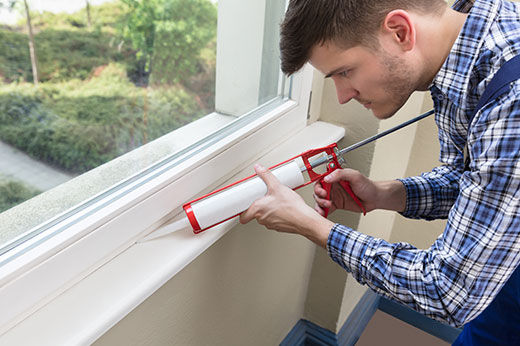
5 Tips to Caulk Like a Pro
Learn how to get the perfect bead of caulk for a professional-looking finish!
Learn more